1/13 - 1/17
- Nathan Matarazzo
- Jan 17, 2025
- 2 min read

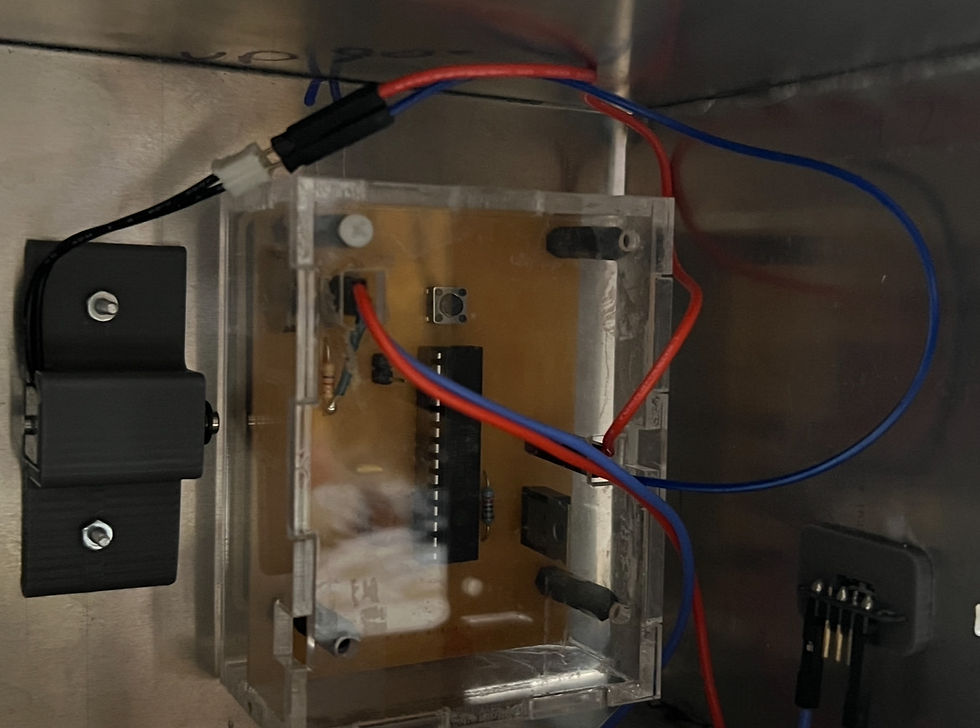
This week I made a lot of progress on finally being done with my arcade machine project. Firstly, this week, I spent most of my time redoing the wiring of the buttons. I used to have it so the buttons were connected to the PCB using jumper wires. However, the excess amount of connections caused many problems in regard to input delay. Specifically, the jumper wires caused about a second of input delay that made the arcade machine almost unplayable. To fix this, I had to completely rewire each of the 11 buttons on the arcade machine. Working as fast as I could, I was able to achieve this goal within the bounds of this week. To be more precise, this process of rewiring involved measuring how long the button's wires needed to be, cutting out wires of that length, then splitting the existing button wires in half. Then, I stripped a little of each wire and soldered each end of each of the 4 wires on each of the 11 buttons. In total, there were about 88 solders made, and while that seems like not too many, this is wire to wire soldering, which, at least in my experience, is a far more tedious and laborious process than soldering headers onto a PCB, for example. After soldering, I would have to use electrical tape to cover over each solder point, and then use masking tape to hold the electrical tape in place, as seen in the second picture below. After I completed soldering all of the buttons, I began to test them all together in the arcade machine. At first, it looked like everything was going good, but eventually I discovered that 2 buttons were not working. The first button I noticed wasn't working was the blue button that corresponds to the right arrow key on a keyboard. Thankfully, the actual switch part of the button wasn't broken, so you can still use it, but the LED on that button was broken, so I will have to see if I can fix it myself, or if I need to order a new one. The second, and more frustrating, button that broke was the missing red button in the first picture below. This button had it's LED working, so it appeared as though it was working, but testing the buttons revealed that this button was being shorted somewhere within itself. I tried taking it apart to see where the short was occurring, but it was of no use, since I would have to break the LED circuit in order to see the inside of the button switch. So, I will have to re-order at least one button, and then solder that button or buttons, and then, finally, I will be done with my arcade machine project. Also this week, I was doing some brainstorming and research on what project I want to do next, before my senior year is over. I have somewhat of an idea, but I think I will need to be done with this before I do anything involving a new project.


Comments