12/11 - 12/15
- Nathan Matarazzo
- Dec 15, 2023
- 1 min read

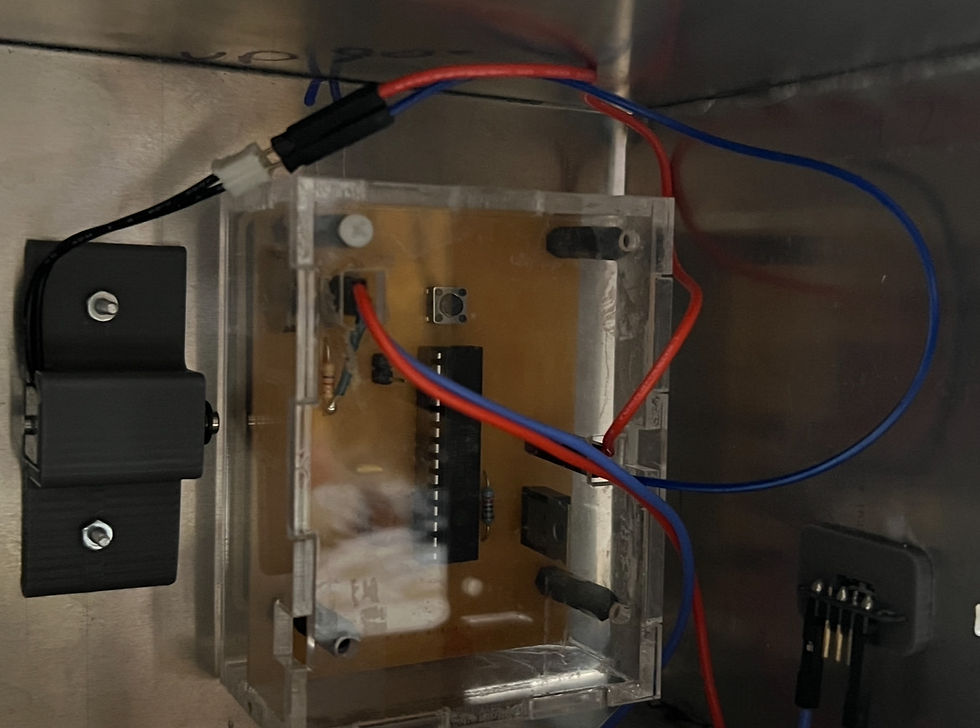
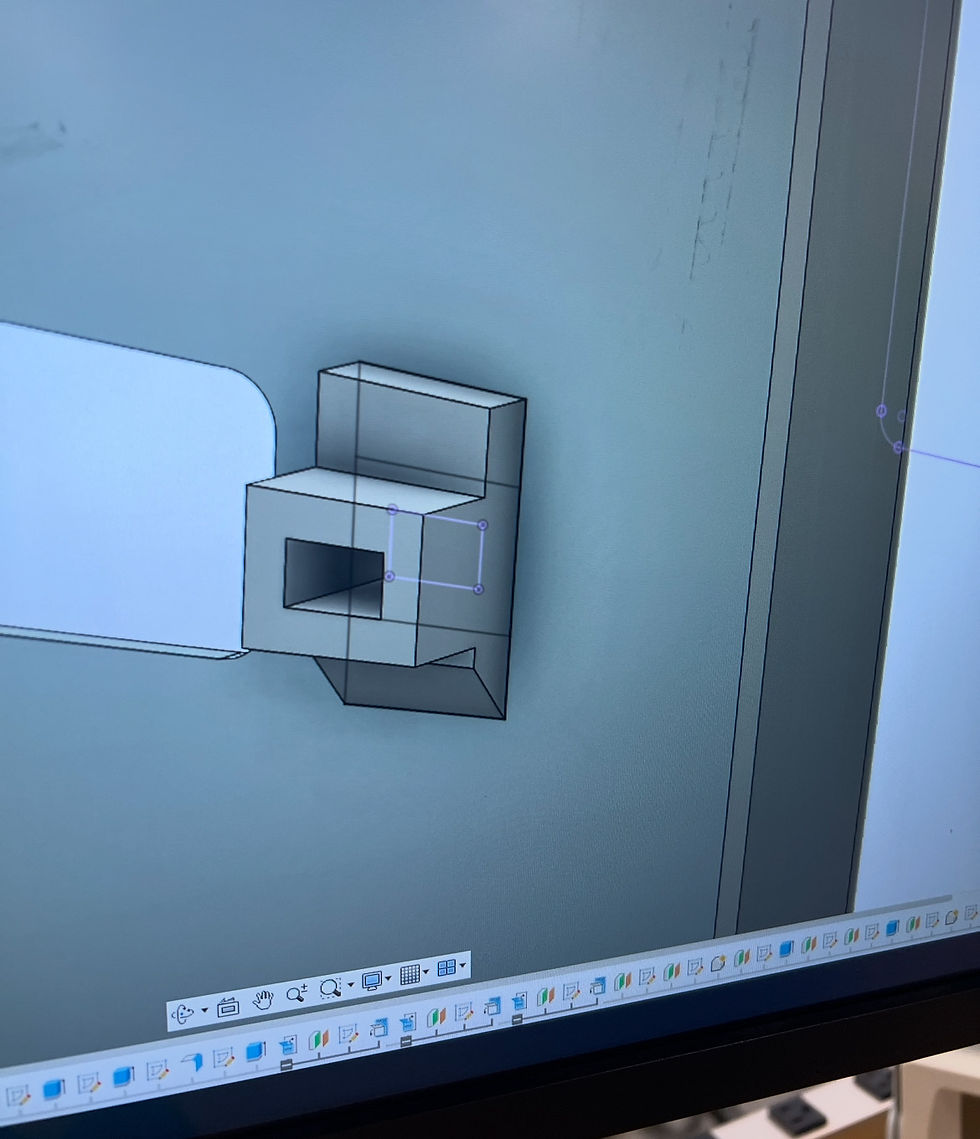
This week I completed by new light box. I milled my PCB design, and soldered the necessary headers onto the PCB. I then crimped the wires I needed for the button and USB port that I used. I then soldered my USB port to a five pin header and my button to the wires that I added to my PCB. I recorded the dimensions of my PCB, and, using fusion 360, I designed a box holder for all the electronics in the light box. After lasercutting the pieces of the light box, which were 1/8 inch wood, I spray painted the pieces white, so it looks better. Using the hot glue gun, I went over the solders on the PCB, LED stick, and the USB port that I had done. I then attached the 3D printed mount for the USB port, and the button onto their designated ports on the light box. Finally, I glued all the pieces together, except for the top, and binded them together with tape to help the glue dry in the correct positions. My new and improved lightbox works, and is finally complete. The last thing I need to do is to lasercut the acrilic design that I made for the light box. This week, I also helped Sacha Saliva with his own light box project, and, more specifically, I helped him design and print his PCB, along with some help on soldering.


Comments