2/10 - 2/14
- Nathan Matarazzo
- Feb 13, 2025
- 2 min read

Updated: Feb 14, 2025
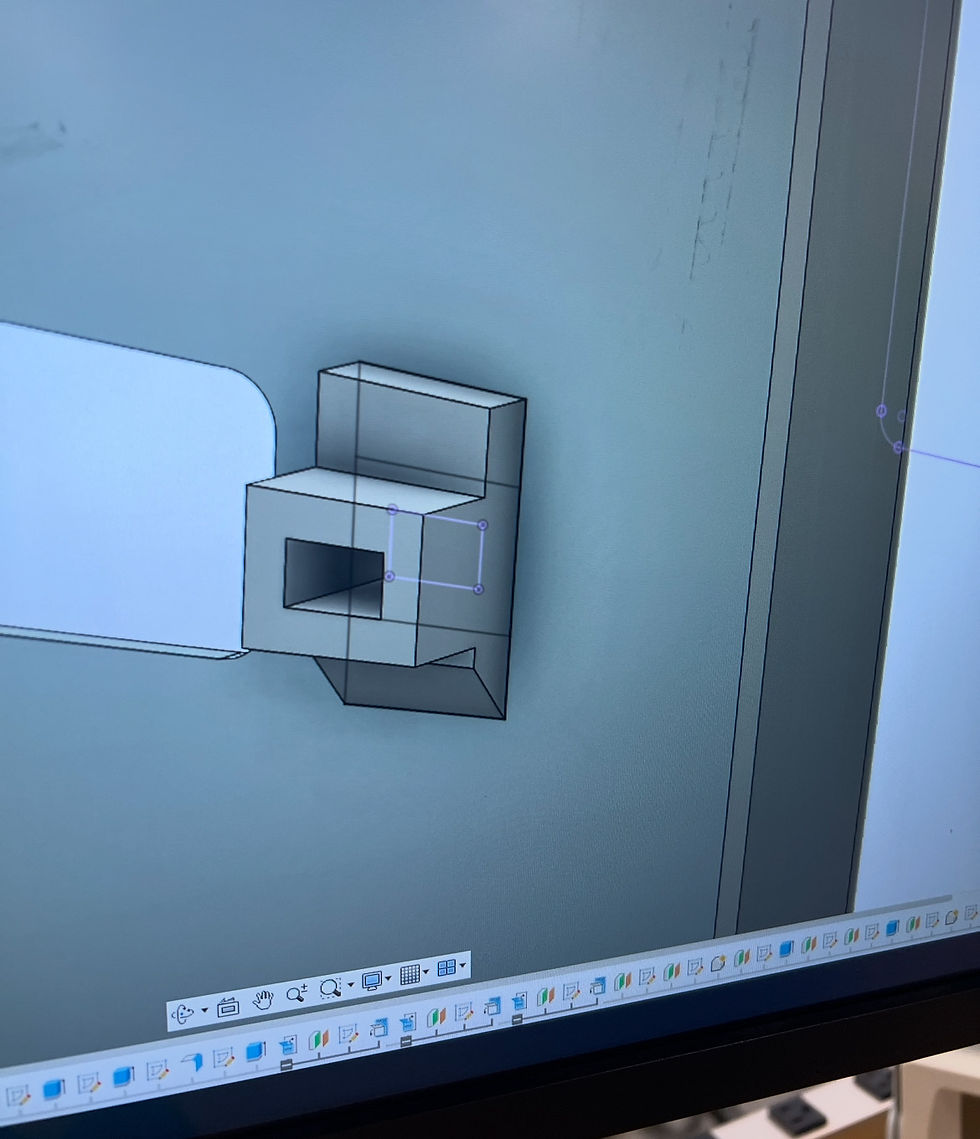
This week, I continued modeling the CAD for the safe project I am making. Firstly, I had to create the model for the hinge that I will be using for the door to the safe to open and whatnot. Initially, I made the hinge open inwards, since it was easier for me to model it that way. However, I figured out that if the hinge opens outwards, it will make the safe more space-efficient. Subsequently, or because of this, I decided to remodel the whole hinge and the front of the safe so that it will be able to open outwards. This took a while, especially since I had to move the hinge and mess with the shape so it can open outwards without colliding with itself or the box. The video below demonstrates how I was able to do this, since it is a video of the hinge working properly. It is worth noting that the door in the video collides with the outside of the box, since this was before I decided to remove some of the door to allow for more flexibility in opening the door.
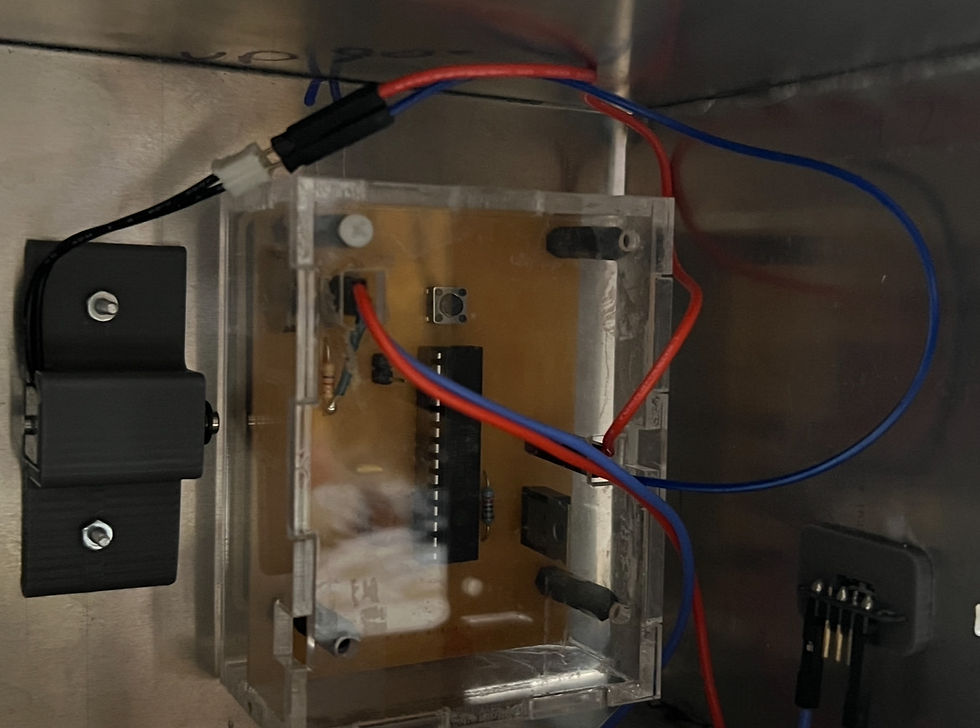
Next, I started modeling the different components that will make up the inside of the safe. For example, Wednesday and Thursday of this week were spent modelling the keypad, solenoid, and back wall mounts, which can all be seen in the second picture below. This process of modelling was very time consuming and laborious, since I had to measure all the dimensions I needed, and then plot those into fusion. Alas, I was able to complete this part of the project through my hard work and dedication. Next week is February break, so the week we come back I will start modelling the PCB, the PCB holder case, and the locking mechanism.


Comments