3/10 - 3/14
- Nathan Matarazzo
- Mar 13, 2025
- 2 min read

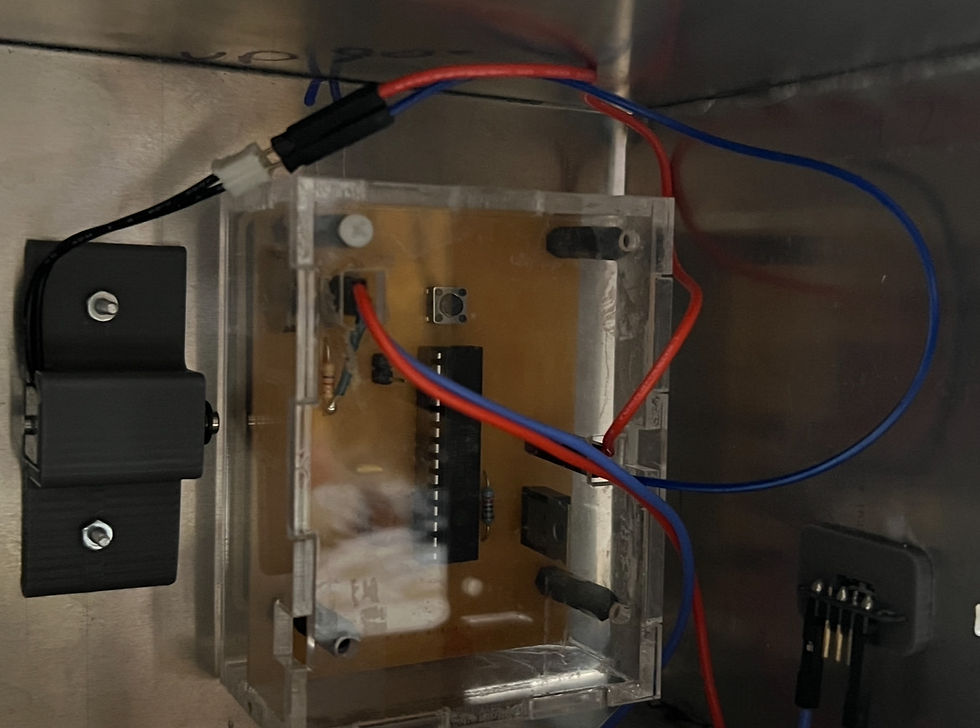
This week I continued working on my lockbox project. In particular, I spent the week modeling, lasercutting, 3D printing, and gluing parts. First, I modelled, lasercut, and glued together the case for my PCB. The modelling process took most of Monday. Then, towards the end of class on Monday, I cut it out of see-through acrylic. Then, I tried gluing it together with regular Elmer's glue, but it didn't hold and I also glued it on backwards, so the holes for the wires were facing the wrong way. Also, the Elmer's glue on the clear acrylic made the PCB case look really weird which I didn't like the look of. So, I decided to use acrylic glue the second time around, but it didn't hold the first time, so I glued it a second time, and I'm pretty sure it is holding pretty good.
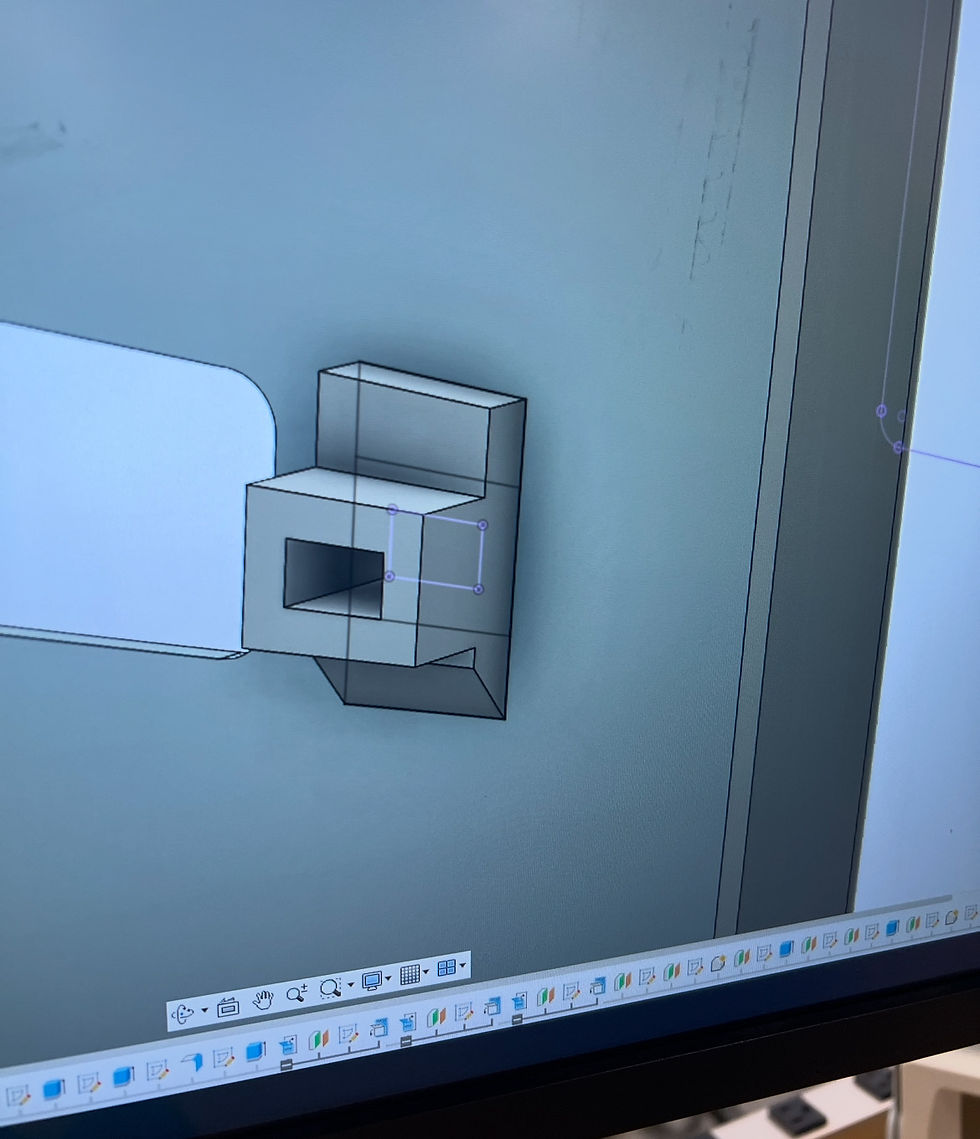
This week I also modelled and 3D printed a case for the solenoid in the safe. A solenoid is like an electronically powered locking mechanism, so I wanted to make a case for that so I could place one within my lockbox. I modelled the solenoid case in Fusion 360. Then, I 3D printed it on Thursday. However, I encountered a problem in that I put a hole for the wires on the wrong side, so I had to redesign it and then 3D print it again. This process took up all of my Thursday, but I got everything looking really nice and the way its supposed to.


Comments