3/17 - 3/21
- Nathan Matarazzo
- Mar 21, 2025
- 1 min read

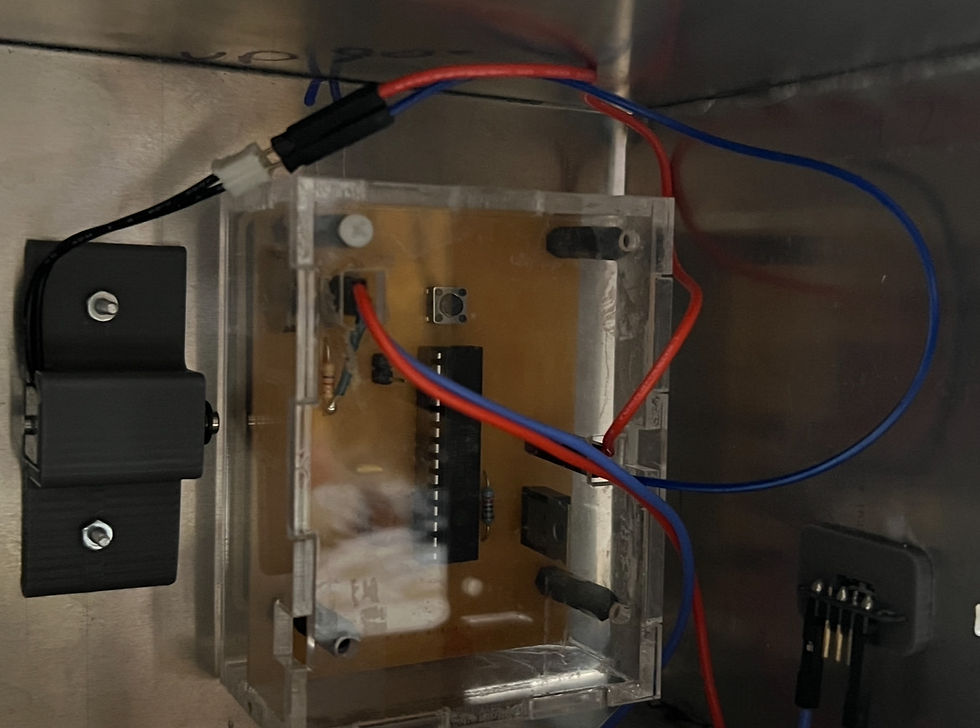
This week I got some more work done on my lockbox project. First, I finished designing the hinge component in CAD. Then, after I was done designing it, I 3D printed the hinge on Monday. After some trouble with the 3D printers, I was able to get it to work and the print came out really nice. I tested the fit, and it fit together really well. I added the screws and nuts to the hinge, and it can be seen in the first 2 images below. Then, on Tuesday, I once again used acrylic glue to attempt to glue together the PCB Case. This time, however, I think it worked pretty well, and the case seems to be put together.
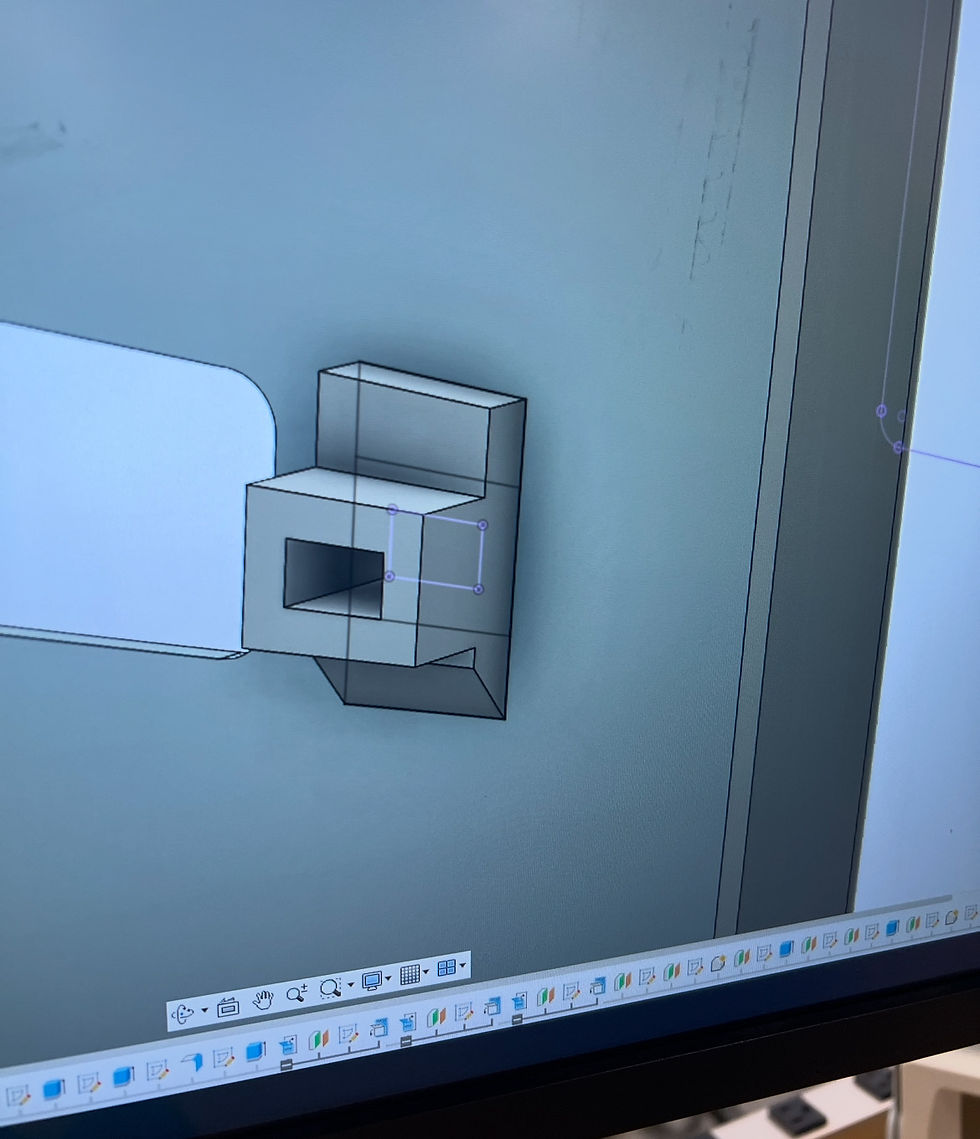
Then, I designed and lasercut an offset for the keypad, so the Solders aren't pressing up against the side of the box. I finished designing it on Tuesday, but I lasercut it on Thursday. This was because on Wednesday we had a half day, and we had gym last period, so I was only in shop for around half an hour. The offset for the keypad can be seen in the last 2 images below. Then, on Thursday, I designed and lasercut a cardboard version of the safe, so I know what I'm going to be doing. I still have to model the power and ground inputs, but after that, I will be done designing and ready to cut it out on the water-jet.


Comments